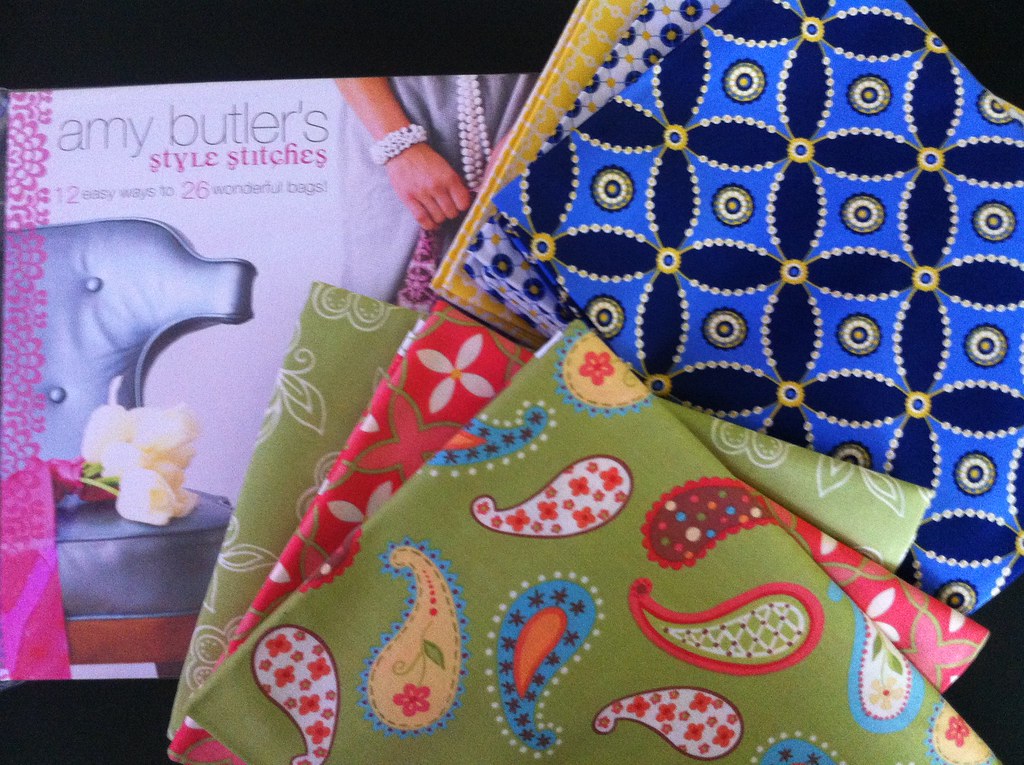
We purchased the book and fabric from Fat Quarter Shop (one of our favorite online fabric resources!), and the snow storm and winter weather here in the south delayed all activities - including UPS deliveries - for over a week. So I was thrilled when I finally had the book and fabrics in my hands! Seeing the fabrics in person was great, and I love them (and love them even more as a bag).
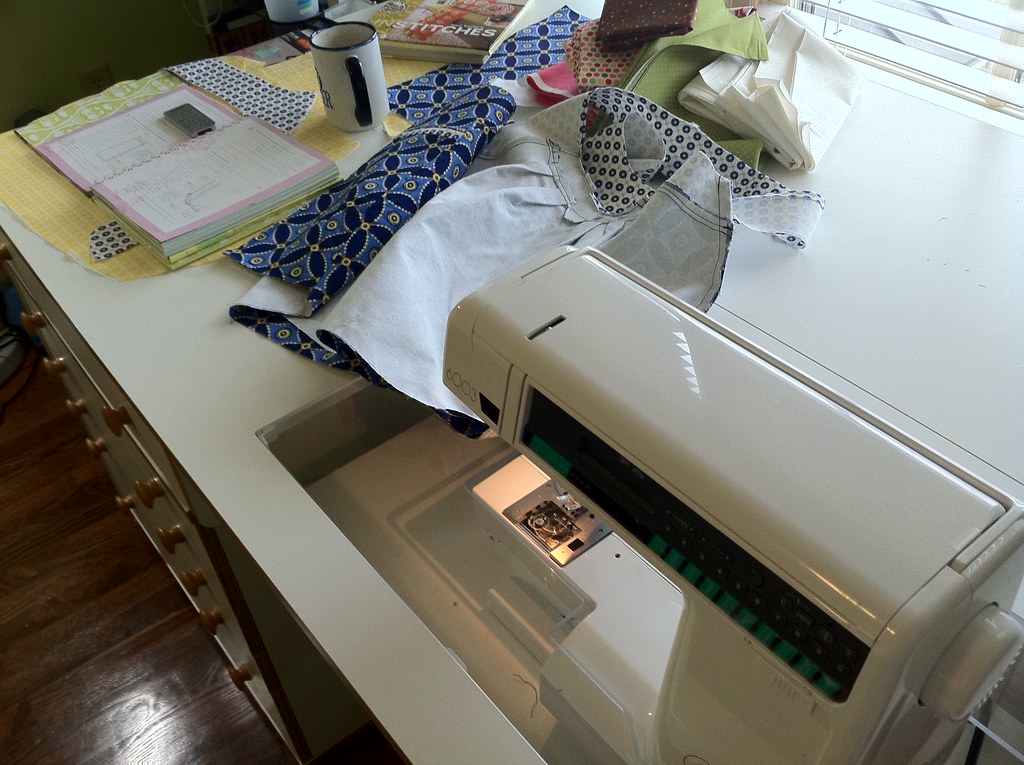
I went up to Mom's house Saturday morning, and we started sewing around 1:30pm. And by "started sewing," I mean started two hours of cutting and fusing interfacing. We might be really slow, we might have been distracted a few times - but it took us right around two hours to cut out the fabric and interfacing for one bag. We sewed for another hour or so, took a break, then came back for another hour and a half. I spent Sunday morning sewing alone, and completed the exterior of the bag at this point.
 |
| sunday morning sewing |
 |
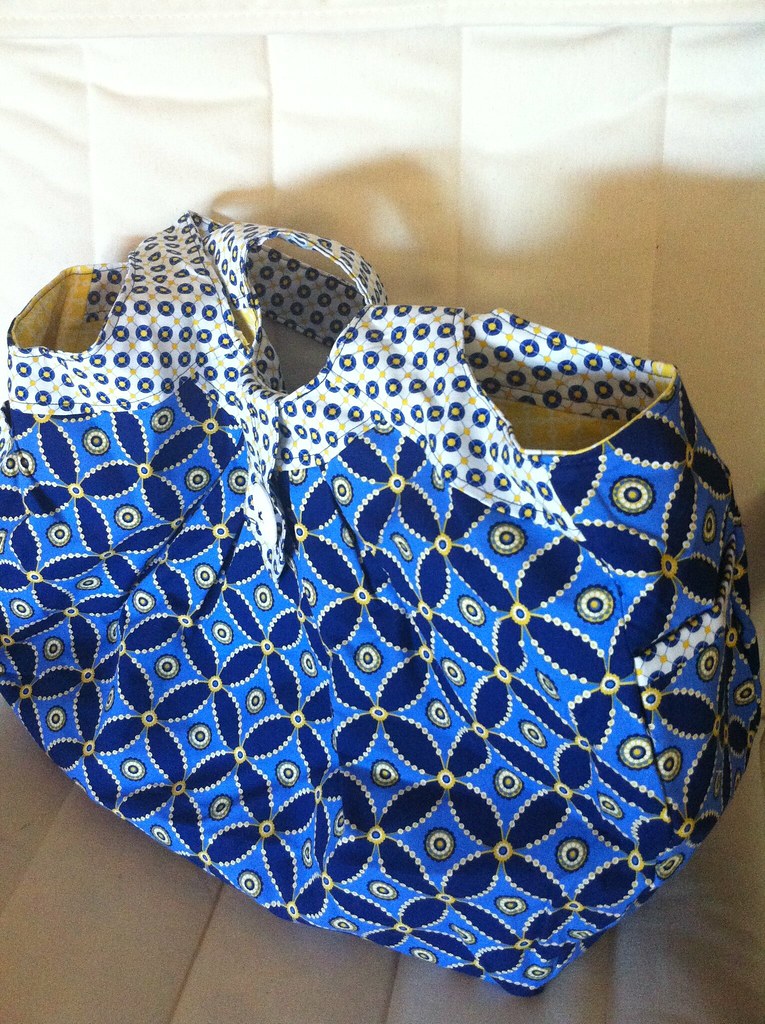
| cosmo bag! |
 |
| exterior (you can see the exterior side pocket) |
 |
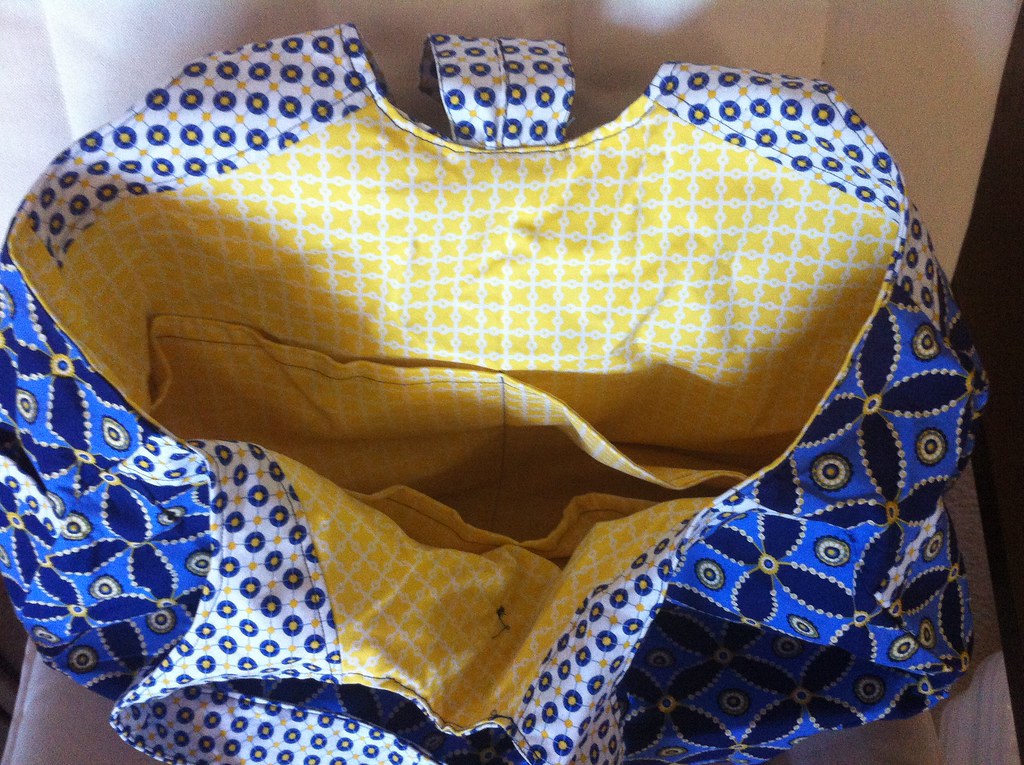
| interior view |
This was definitely the most complicated bag I've ever made, and it was totally worth it. As my friends and family know, I am a big-bag kind of girl. So this bag is perfect for me! I don't know exactly what I want to use it for, but am trying it out in some different capacities. This week it's a "project bag" and will be going to my modern quilt guild class on Sunday. Next week it might be a school bag. We will see what fits!
Now, my thoughts on the pattern. Like I said, this is the most complicated bag I've made (yet!). My mom is a far more experienced seamstress than I am, and between the two of us we had to read and reread several parts of the directions. Luckily, thanks to all this reading and rereading, we only had to use the seam ripper one or two times. (But, my motto is that it's not a real sewing project until I've gotten out the seam ripper.) I will go ahead and say that a few more diagrams wouldn't have hurt, and there were a few moments when I asked (invisible) Amy Butler what on earth she meant. If I was to make the bag again I would modify the interior pockets. They're big and flop open when you put things in them, so either a snap or zipper to close the pockets would be helpful. You could also modify and make smaller pockets, but I didn't feel up to tackling that and kept everything as-is in the pattern.
I learned several new things, and loved having the glossary to flip to in the back of the book. New skills and terms for this project were gathering stitch and stay stitch. I do think that's one thing I'm really looking forward to as we move forward with this project.
So, moving forward! Mom is going to tackle her bag this week (and hopefully I'll get up there to help her like she helped me!). We were at our local quilt shop last week and were able to purchase the fabric for February's bag (home dec weight) on sale. Brilliant of us to plan ahead like that. Feels good to have this awesome bag under my belt!


i love it! it is totally a molly-bag
ReplyDeletethat looks really nice!
ReplyDeleteMolly this bag is amazing!! That is so incredible that you made it yourself. Love it!
ReplyDeleteI really like this! The blues are gorgeous and I love the 'surprise!' yellow lining!
ReplyDelete