Monday, April 11, 2011

Sweet Pincushions

I showed y'all the pincushion I made for this round of the Scrappy Pincushion Swap on Flickr, and now I can show you the sweet pincushions I received! 


My secret partner was Rachel (sweetteamom on Flickr), and she made pincushions that are perfect for me. She nailed all of my favorite things - the color aqua, Matryoshka dolls, and my initials! These sweet pinnies are a lovely addition to my sewing table. She also sent along some adorable Matryoshka doll fabric - I need a special project for it! 


sweet pincushions!

Thursday, March 31, 2011

Cookies to Make Today!

Okay, y'all - you should probably make these cookies today. They're so delicious and so easy, it's not even funny. They're Mexican Hot Chocolate Cookies, and they are awesome. If you like mexican hot chocolate - that kind of sweet, spicy, chocolate combo - then you will love these cookies. Don't be scared of the spice - it's only a hint of spiciness. They're kind of like a spicy chocolate snickerdoodle. Plus, they're really pretty! 


I decided to make cookies because I couldn't resist the Martha Stewart Makes Cookies iPad app, and figured I should probably put it to good use! (The recipe is also on her website, so no worries.) These cookies are not gluten free, so I only tried one and the rest are for Jim and whoever is at our apartment before they're all gone! 


I had everything for these cookies in my pantry, and they took less than 45 minutes to make and bake all 3 batches. I used cayenne instead of chile powder, but Martha says either will be fine. 


cookies!
yum!

Here's the recipe, straight from Martha Stewart: 

Mexican Hot-Chocolate Cookies

Ingredients

  • 2 1/4 cups all-purpose flour
  • 1/2 cup unsweetened cocoa powder
  • 2 teaspoons cream of tartar
  • 1 teaspoon baking soda
  • 1/2 teaspoon coarse salt
  • 1 cup (2 sticks) unsalted butter, room temperature
  • 1 3/4 cups sugar
  • 2 large eggs
  • 2 teaspoons cinnamon
  • 1/2 teaspoon chile powder (optional)

Directions

  1. Preheat oven to 400 degrees, with racks in upper and lower thirds. In a medium bowl, sift together flour, cocoa powder, cream of tartar, baking soda, and salt. In a large bowl, using an electric mixer, beat butter and 1 1/2 cups sugar on medium speed until light and fluffy, about 2 minutes. Scrape down side of bowl. Add eggs and beat to combine. With mixer on low, gradually add flour mixture and beat until combined.
  2. In a small bowl, combine remaining 1/4 cup sugar, cinnamon, and chile powder (if using). Using heaping tablespoons, form balls of dough and roll in cinnamon-sugar mixture. Place, about 3 inches apart, on two parchment-lined baking sheets. Bake until cookies are set in center and begin to crack, about 10 minutes, rotating sheets halfway through. Let cookies cool on sheets on wire racks 5 minutes, then transfer cookies to racks to cool completely. (Store in an airtight container, up to 1 week.)
If you make these, let me know how you like them! I can guarantee I'll be making them again. 

Monday, March 28, 2011

SFF: Block Update

I told y'all in this post about participating in Sew Fresh Fabric's quilting bee, and shared the awesome fabrics I received to work with. I ended up making a nice, simple block to showcase the fun and movement in the fabrics. 


SFF block
And, so you can get the full effect, here's a picture from SFF of the blocks they'd received so far. 


boy blocks for Project Linus Quilt


You can read more about it on their blog here! It was so fun to do a quick project that was for such a great quilty-cause, thinking about some sweet little boy somewhere who's going to get this awesome and eclectic quilt. Makes me happy! 

Tuesday, March 15, 2011

I'm a lucky girl!

I am a lucky girl, and have won two giveaways from quilty blogs I love in the past month or so. So I'm here to show off the lucky things I won!


I won a fabulous prize from Gen X Quilters - 25 fabulous fabric labels from Sweetwater! They were a pleasure to work with, and it was so hard to choose just one label design and color. I ended up choosing a "made with love" label in hot pink, and they are just what I was hoping for. After I use these 25 I definitely plan to order more! I used my first one on my mug rug, and it was perfect.


label in action
The other giveaway was through the Scrappy Mug Rug group thanks to the fabulous swap mamas! I won some of the Moda Hideaway fabric that is just darling. 


Moda Hideaway
I don't have any projects planned for it yet, but want to make something special for sure. The colors and design are something different from what I usually choose for myself, which makes it a fun adventure! It's a line I didn't know about before this giveaway, and discovering new fabric lines is like finding hidden treasure, don't you think? 

Friday, March 11, 2011

Pincushion Love

I am part of (yet another!) wonderful swap group on flickr, the Scrappy Pincushion Swap. I love this swap because it's a small, quick project. And let's be honest - I can never have too many pincushions on my sewing table!

I finished and mailed my pincushion to my partner on time, just under the wire. This was my inspiration for this round!

pinnie inspiration!
I made a simple pincushion (based on several tutorials around the internet) in bright colors for my partner. She hasn't received it yet, but here it is...

pinnie front
and the other side!
I love both sides, so it's hard to call one a front and the other a back :) I hope she likes it, because it was so fun to make! I haven't received from my mystery partner yet, but will be sure to share when I do.

Monday, February 28, 2011

Scrappy Mug Rug Swap Round 3

I was lucky enough to participate in another fabulous round of the Scrappy Mug Rug Swap on flickr. Making and using mug rugs is absolutely addictive, and the flickr group is incredibly creative and inspiring.


I received a fabulous mug rug from Dawn this round. It is so lovely, I put it right to work on my desk. It has colors I love (red and aqua!) and some adorable little birdies, plus some embroidery. Fabulous, I say!


mug rug in use
 She was also sweet enough to include some charm squares of the fabric she used for me. I want to think of a perfect project for these sweet squares!


mug rug & charm squares


For my partner, and since I waited until the last day to mail I won't say who that is, I made a green and grey chevron mug rug. I hope she loves it as much as I do - I had a hard time sending it off in the mail! 


finished mug rug
mug rug in action
I used this binding tutorial from verykerryberry, and it made a world of difference in this smaller format! So I can definitely say I improved my binding technique this round. The back has a special little surprise on it, but I'm going to save that for my next post! 

Monday, February 21, 2011

PB&J February: Work in progress!

As I said before, February is my month for the PB&J quilting bee. I have sent some bright and bold fabrics out to my fellow bee members, and cannot wait to put this quilt together.

I used a fat quarter bundle of Kaffe Fassett fabrics for the fabric this month. I asked my bee members for wonky log cabin or square-in-square inspired blocks out of these fabrics, and provided an 
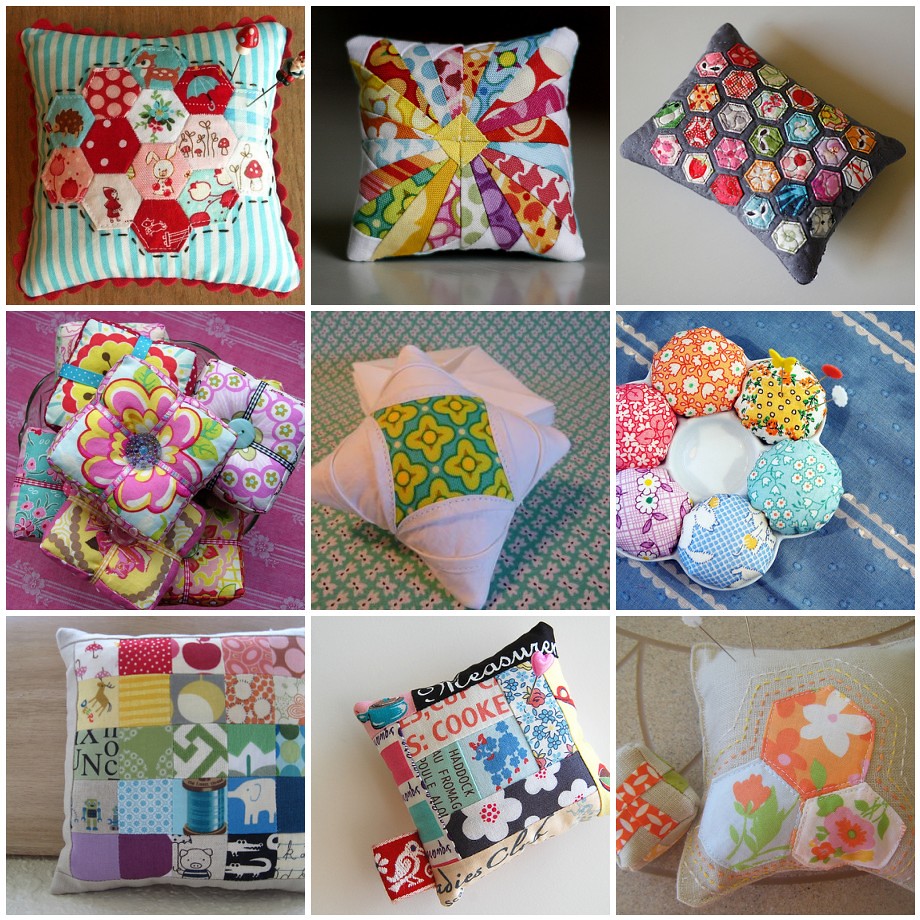
inspiration gallery on flickr for them, so they could get a feel for what I'm looking for.

Here are the fabrics I started with, pre-cutting. (Colors are a bit off, because I took this picture in the dark!)

Fabrics, pre-cutting
And after spending an evening cutting them into varying size strips, I put together 11 packages that looked something like this!

strips and strips

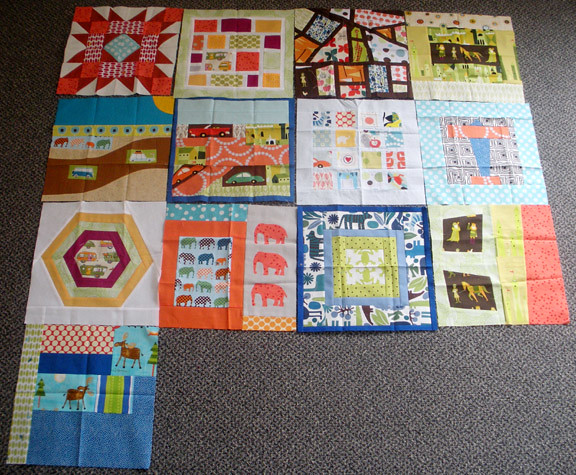
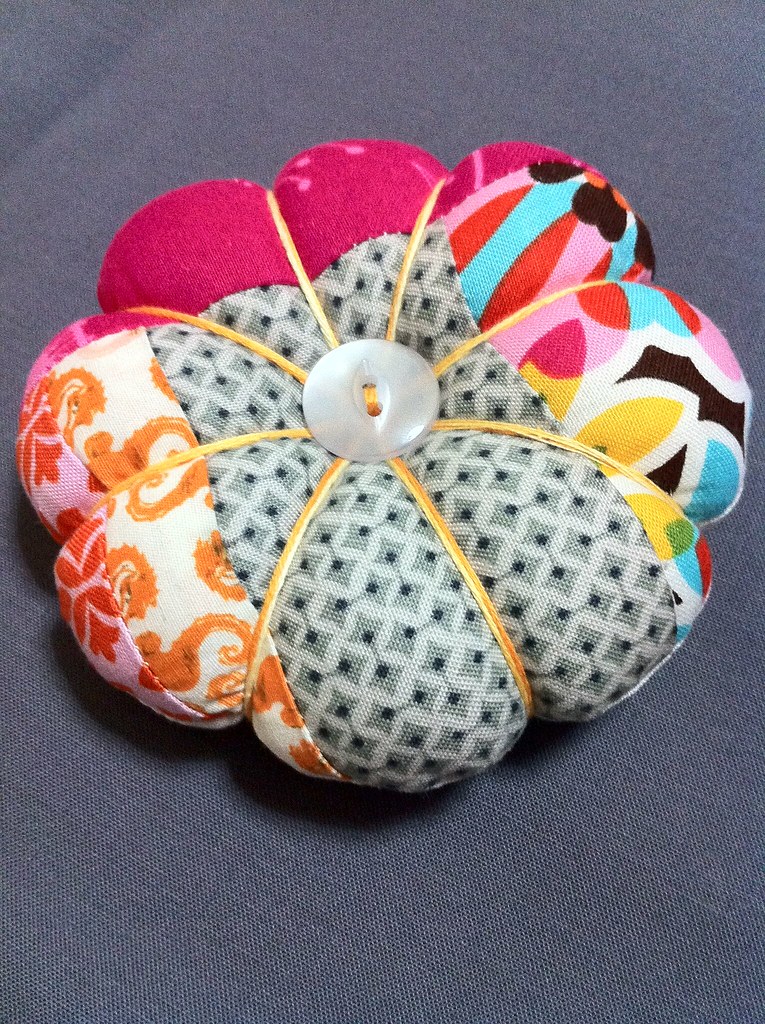
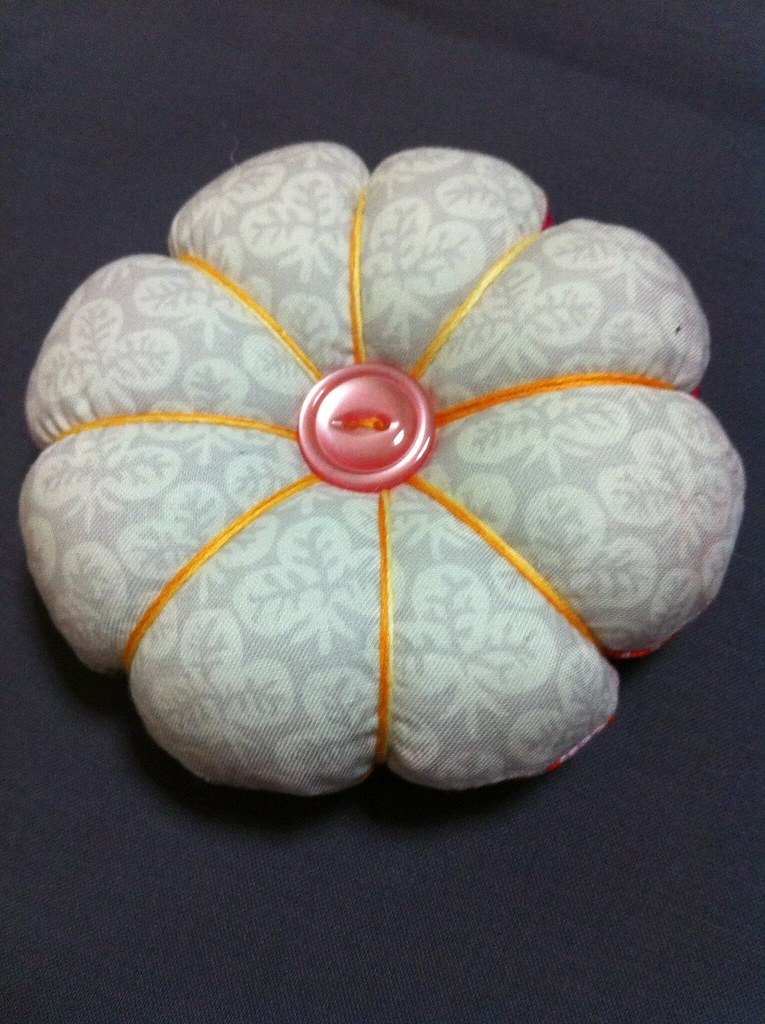
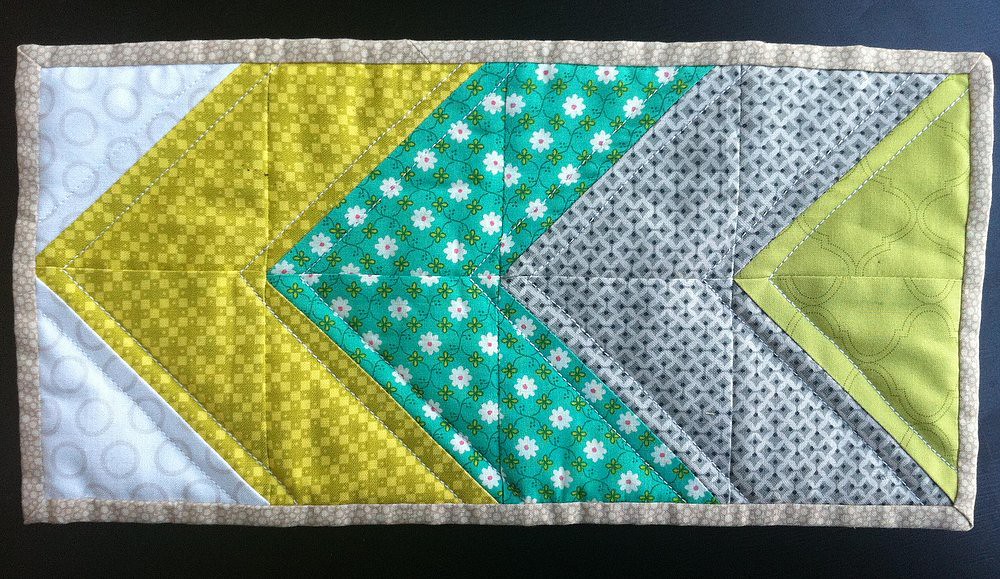
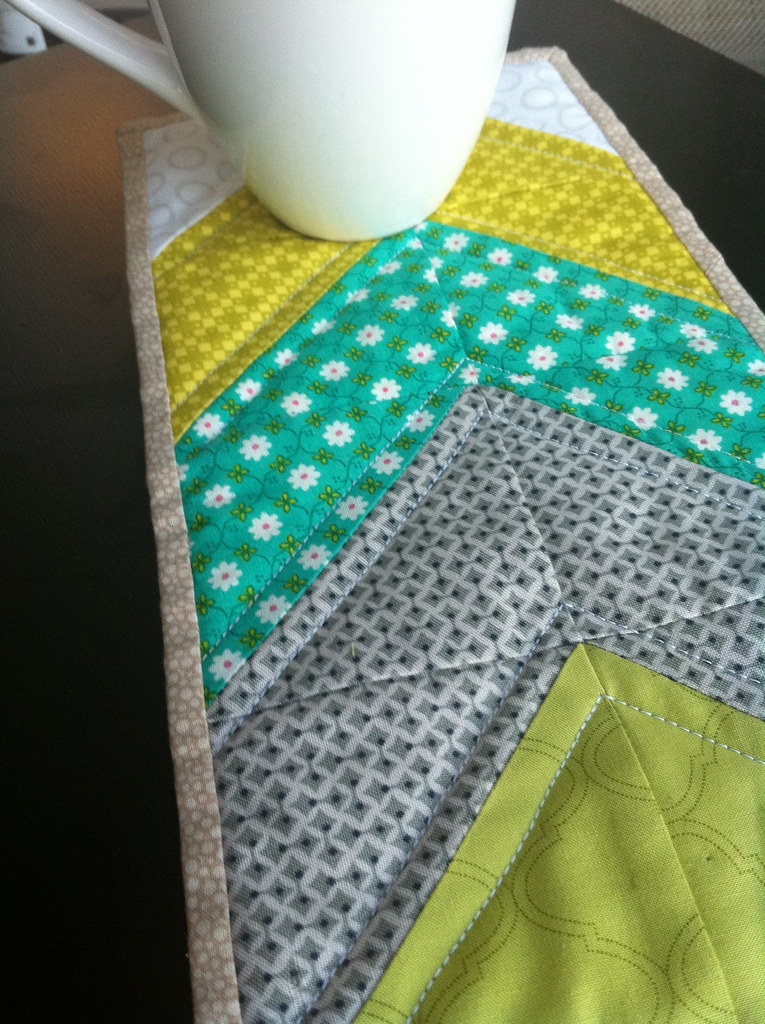
Most of the packages have been confirmed received, and one speedy bee member has already finished blocks, so here's a little sneak preview! 

block from Chrissy

Needless to say, I cannot wait to get these blocks together and into a gorgeous quilt! I bought a grey kona to play around with borders and possible sashing once I get all the blocks together.