Showing posts with label sewing. Show all posts

Friday, March 11, 2011

Pincushion Love

I am part of (yet another!) wonderful swap group on flickr, the Scrappy Pincushion Swap. I love this swap because it's a small, quick project. And let's be honest - I can never have too many pincushions on my sewing table!

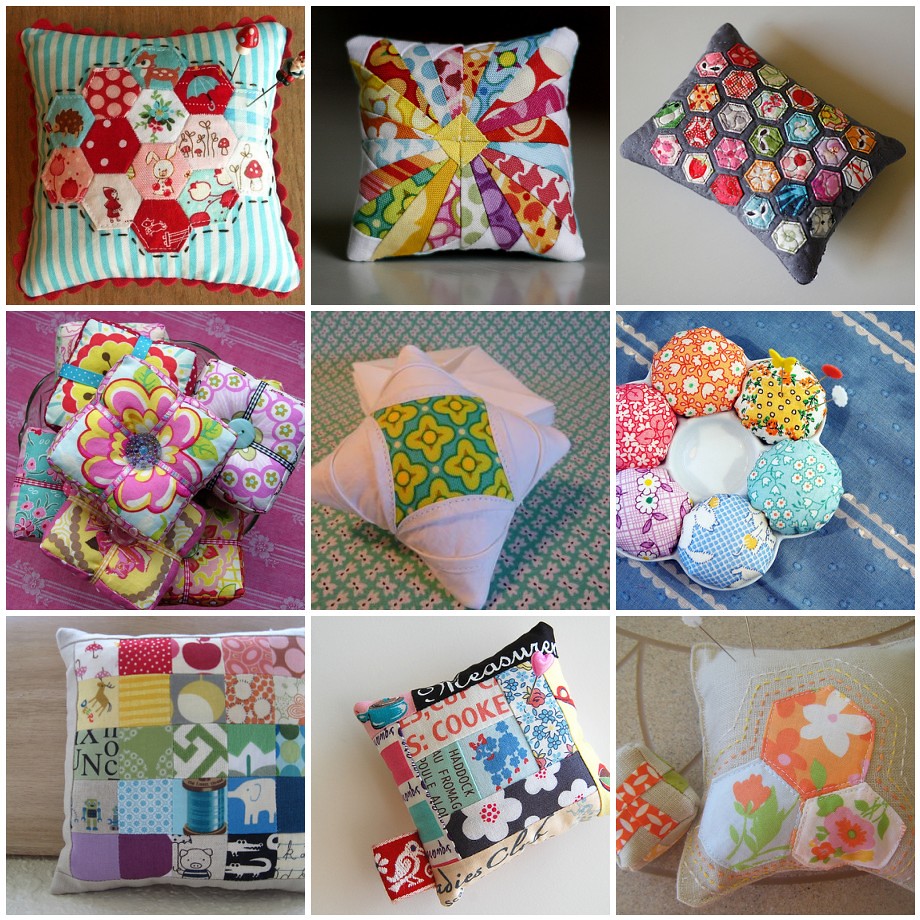
I finished and mailed my pincushion to my partner on time, just under the wire. This was my inspiration for this round!

pinnie inspiration!
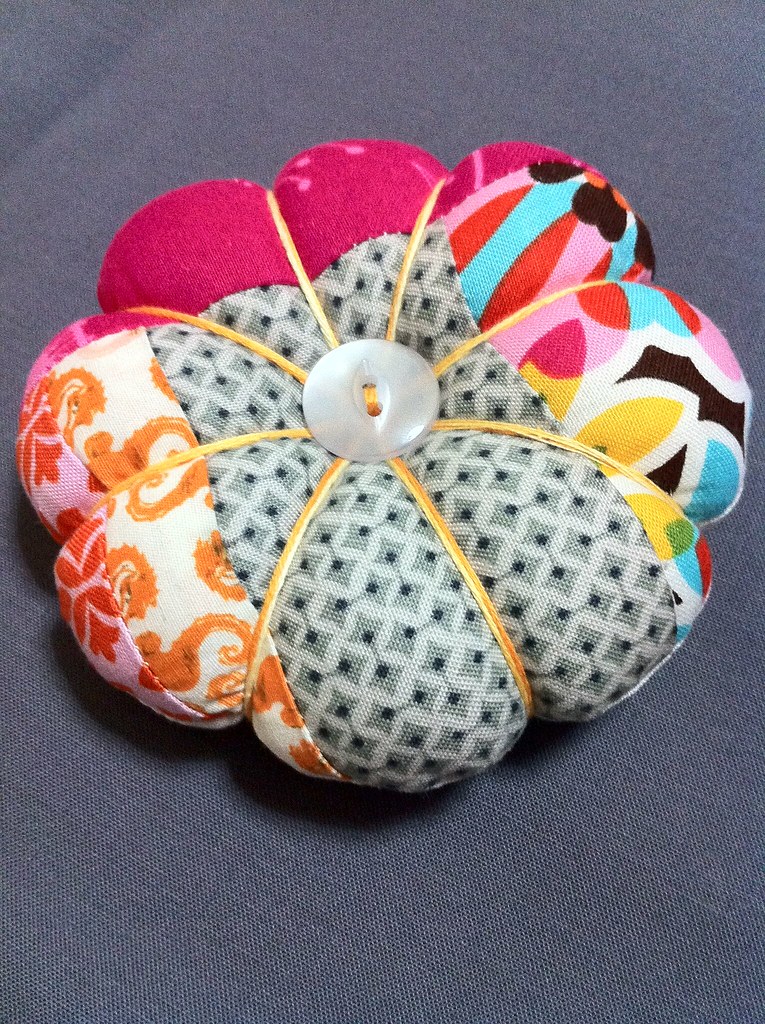
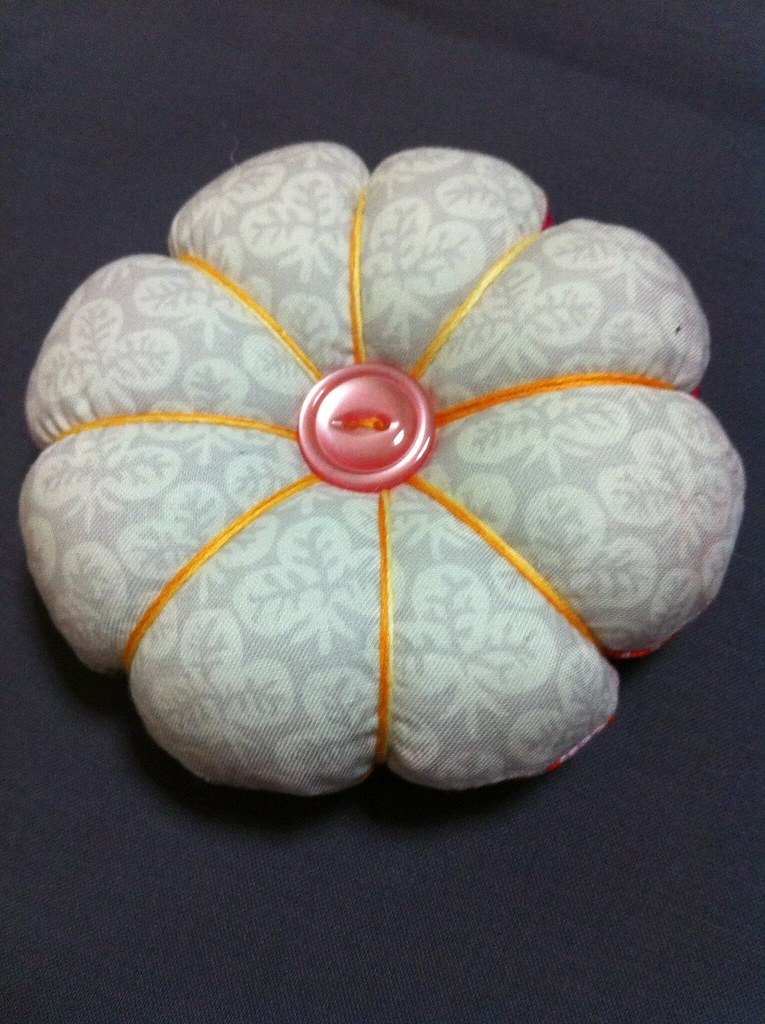
I made a simple pincushion (based on several tutorials around the internet) in bright colors for my partner. She hasn't received it yet, but here it is...

pinnie front
and the other side!
I love both sides, so it's hard to call one a front and the other a back :) I hope she likes it, because it was so fun to make! I haven't received from my mystery partner yet, but will be sure to share when I do.

Monday, February 28, 2011

Scrappy Mug Rug Swap Round 3

I was lucky enough to participate in another fabulous round of the Scrappy Mug Rug Swap on flickr. Making and using mug rugs is absolutely addictive, and the flickr group is incredibly creative and inspiring.


I received a fabulous mug rug from Dawn this round. It is so lovely, I put it right to work on my desk. It has colors I love (red and aqua!) and some adorable little birdies, plus some embroidery. Fabulous, I say!


mug rug in use
 She was also sweet enough to include some charm squares of the fabric she used for me. I want to think of a perfect project for these sweet squares!


mug rug & charm squares


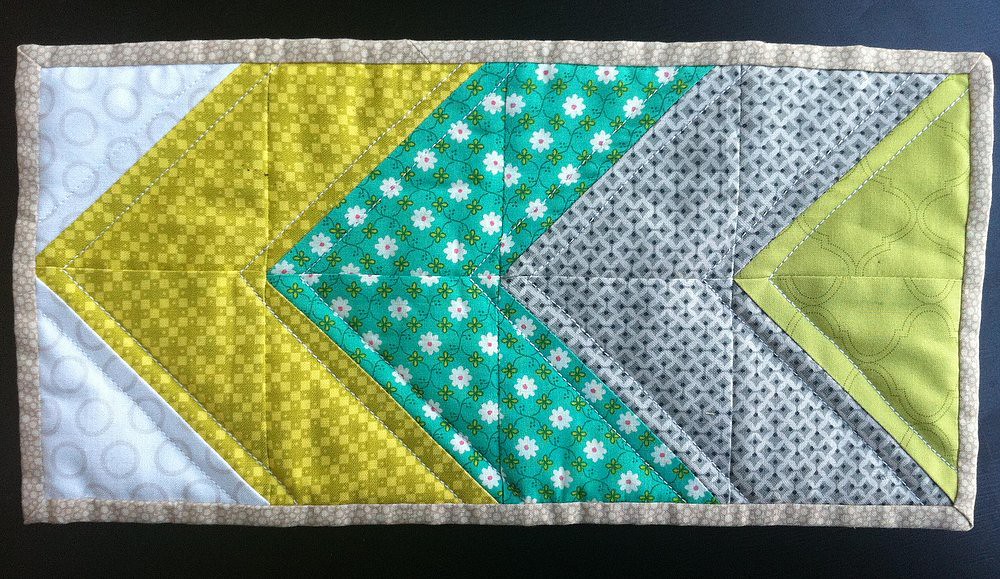
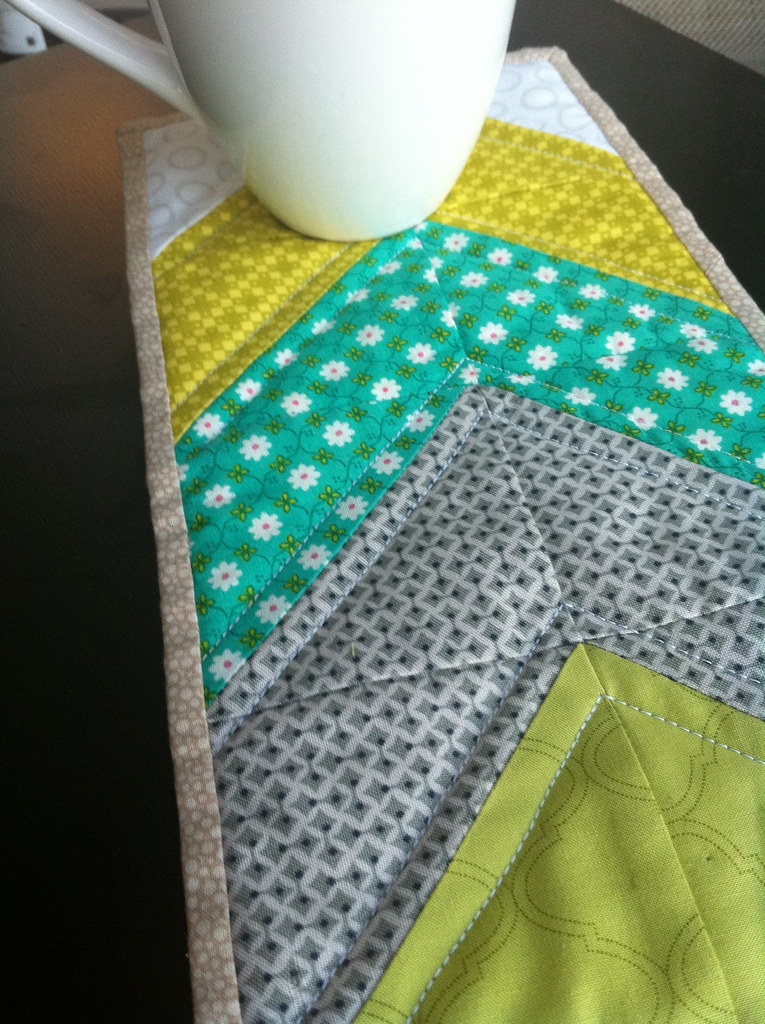
For my partner, and since I waited until the last day to mail I won't say who that is, I made a green and grey chevron mug rug. I hope she loves it as much as I do - I had a hard time sending it off in the mail! 


finished mug rug
mug rug in action
I used this binding tutorial from verykerryberry, and it made a world of difference in this smaller format! So I can definitely say I improved my binding technique this round. The back has a special little surprise on it, but I'm going to save that for my next post! 

Monday, February 21, 2011

PB&J February: Work in progress!

As I said before, February is my month for the PB&J quilting bee. I have sent some bright and bold fabrics out to my fellow bee members, and cannot wait to put this quilt together.

I used a fat quarter bundle of Kaffe Fassett fabrics for the fabric this month. I asked my bee members for wonky log cabin or square-in-square inspired blocks out of these fabrics, and provided an inspiration gallery on flickr for them, so they could get a feel for what I'm looking for.

Here are the fabrics I started with, pre-cutting. (Colors are a bit off, because I took this picture in the dark!)

Fabrics, pre-cutting
And after spending an evening cutting them into varying size strips, I put together 11 packages that looked something like this!

strips and strips

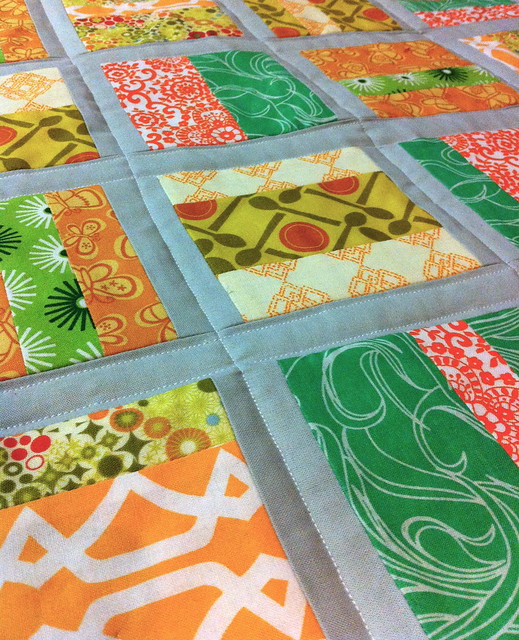
Most of the packages have been confirmed received, and one speedy bee member has already finished blocks, so here's a little sneak preview! 

block from Chrissy

Needless to say, I cannot wait to get these blocks together and into a gorgeous quilt! I bought a grey kona to play around with borders and possible sashing once I get all the blocks together.
Saturday, February 5, 2011

Sew Fresh Fabrics Scrap Quilting Bee

One of my most favorite online fabric stores, Sew Fresh Fabrics, posted at the beginning of January asking for participants to make a quilt from their scraps that will go to Project Linus and Hopes and Dreams Quilt Challenge for ALS (you can read all about here on their blog). And I was lucky enough to be chosen for the first round!


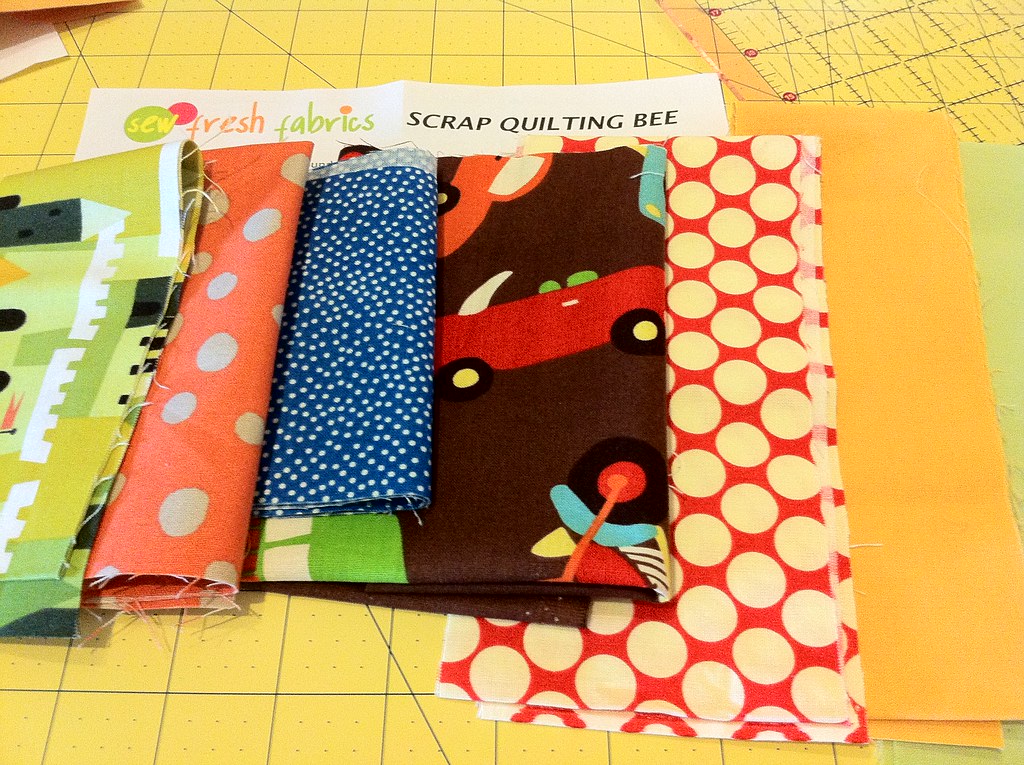
I received my package of "boy quilt" fabrics, and am looking forward to making my 12.5" square block this week. Just look at these wonderful scraps I received! 


such a lovely package!

seven fabulous fabrics to work with
I will be sure to post pictures of my block once it's finished. I want to be sure and feature the great prints on some of those fabrics - the castle and cars, especially! 

Wednesday, February 2, 2011

PB&J: November, December, & January!

I finally caught up on my PB&J Bee blocks today, getting January's block in the mail just 2 days late. And just in time, because February is my month! I'm hoping to have my fabric all cut this afternoon and in the mail by the end of the week. I realized I haven't shown blocks since October though, so this post will catch us up. 


November
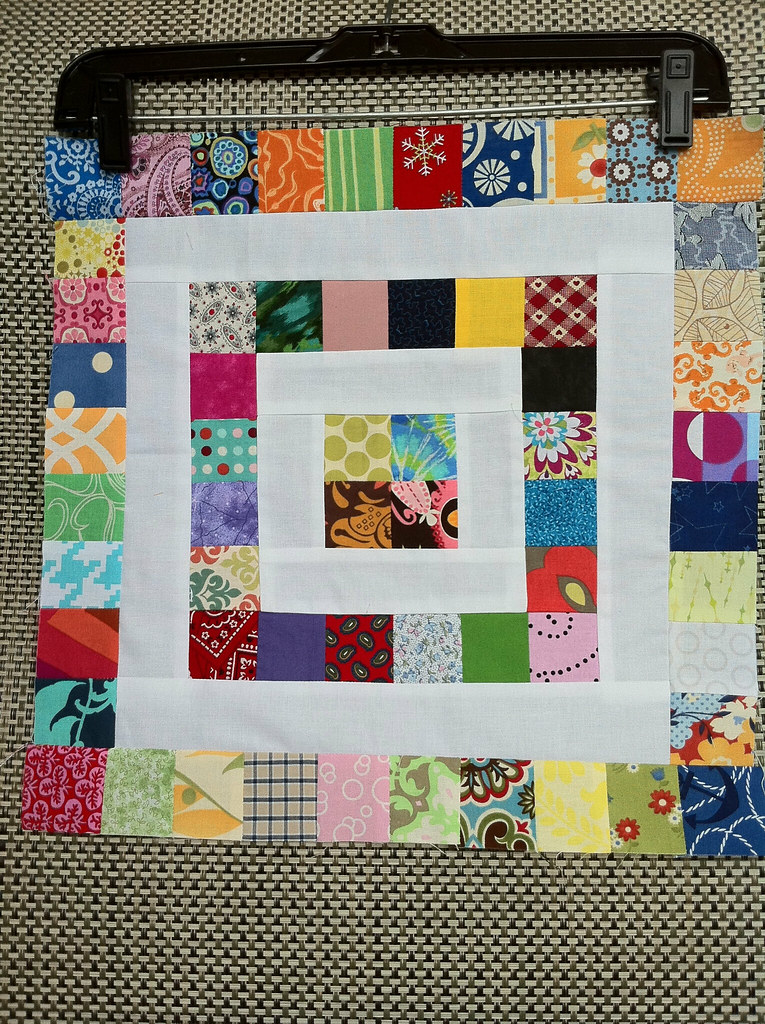
This was Ashley's month, and we made a variation of Little Miss Shabby's Scrapbuster #2 block. Ashley sent us scrap squares and white fabric, and asked if we wouldn't mind adding in some of our own scraps (which I was happy to do!). I got a little carried away cutting squares from my scraps, and made Ashley two blocks. I love these blocks, and have put them on my "to-make" list. 


November block #1
November block #2


December
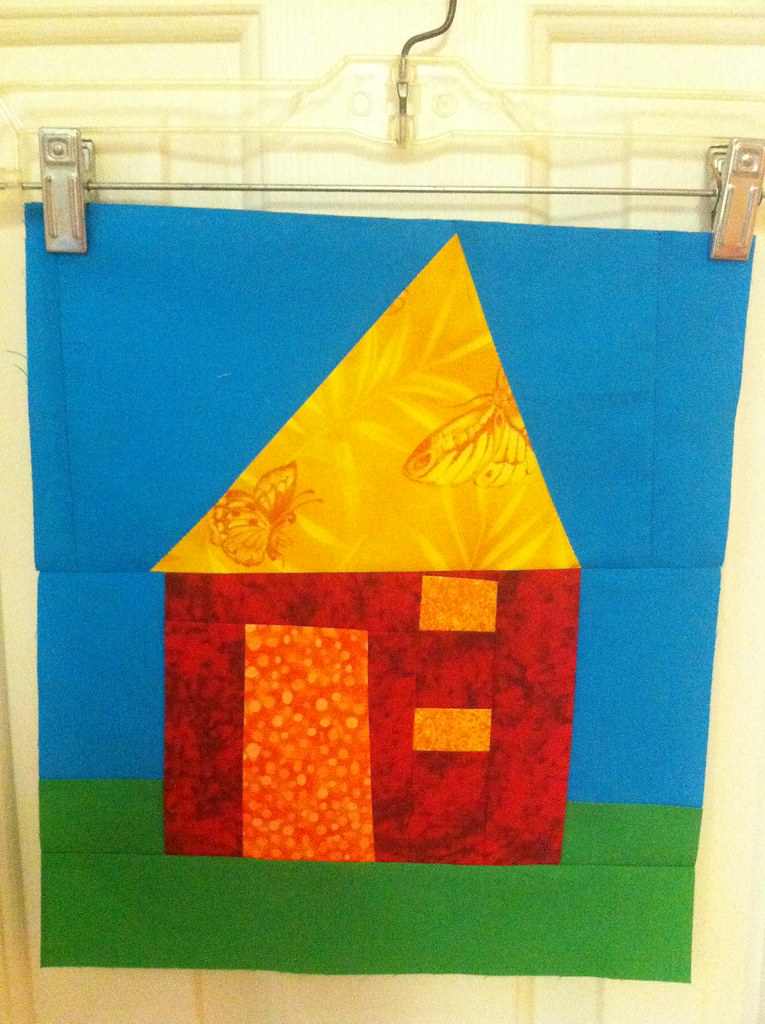
December's block was for Corley in Pennsylvania, and this block was both new to me and fell outside my comfort zone! We made wonky house blocks out of beautiful warm colors with a blue sky behind them. My house isn't very wonky, but it was fun to make. 

December house block


January
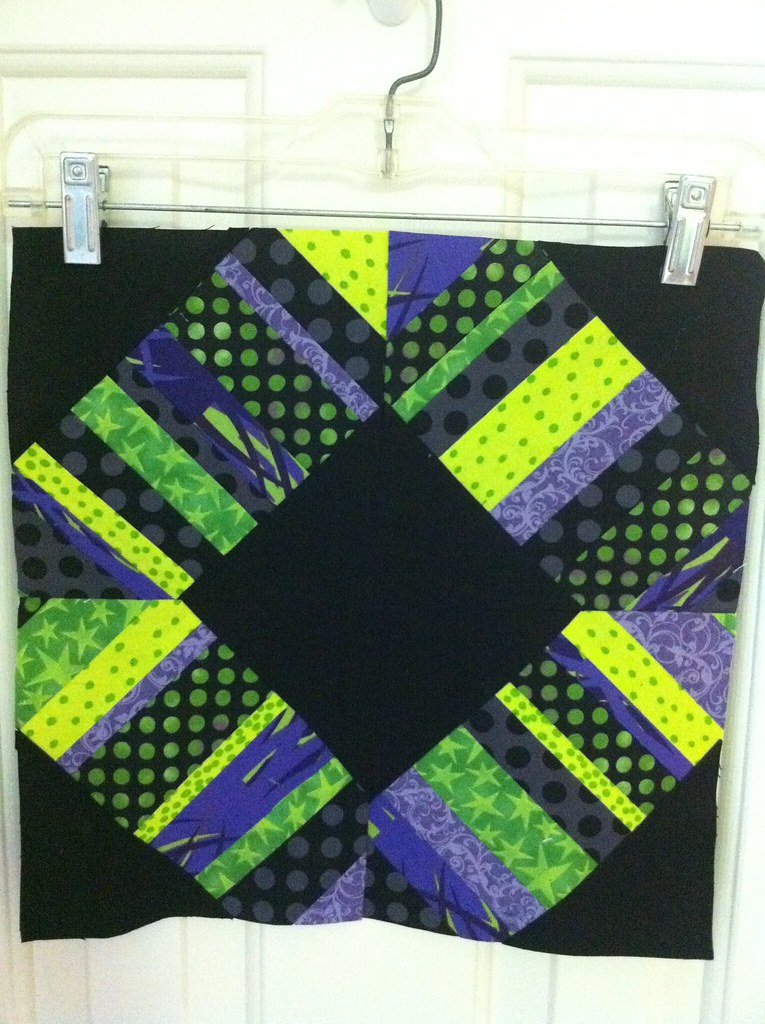
And last but not least, January's block for Jill. I've had this block bookmarked since I first saw it, and was thrilled to make it for Jill. We made a liberated wedding ring block, (using another of Little Miss Shabby's tutorials) and this was my first foray into foundation piecing. I used a shorter stitch length and ironed a lot (as recommended), and the block was actually easy to put together. 
January liberated wedding block


So now we're all caught up! February is my month, and I have a fabulous set of 33 Kaffe Fassett fabrics that I'm going to send out to my fellow bee members. Can't wait to get them all packed up and sent out! 

Monday, January 24, 2011

Style Stitches Monthly Bag Challenge: January

As I mentioned in this post earlier in the month, my Mom and I have taken on Jemellia's Style Stitches Monthly Bag Challenge! We're off to a slower start than we had hoped, but we are not behind - my January bag is finished! (Mom's January bag is still in the works.) I'll give my overall thoughts on the pattern and bag at the end of this post. 


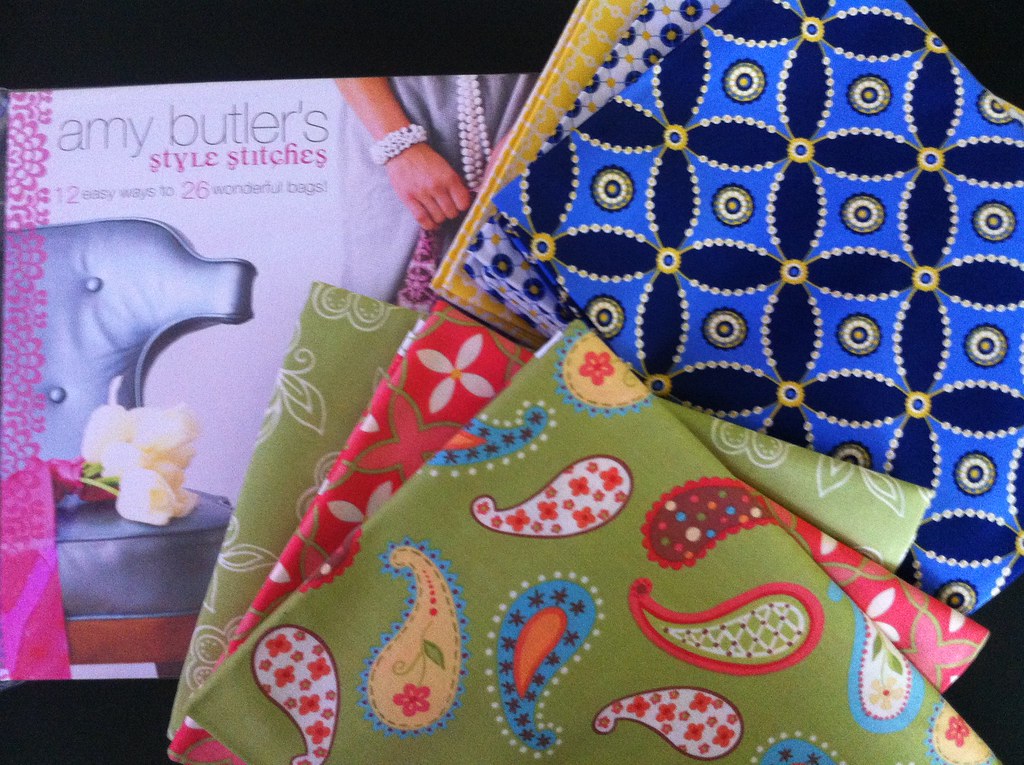
We purchased the book and fabric from Fat Quarter Shop (one of our favorite online fabric resources!), and the snow storm and winter weather here in the south delayed all activities - including UPS deliveries - for over a week. So I was thrilled when I finally had the book and fabrics in my hands! Seeing the fabrics in person was great, and I love them (and love them even more as a bag). 


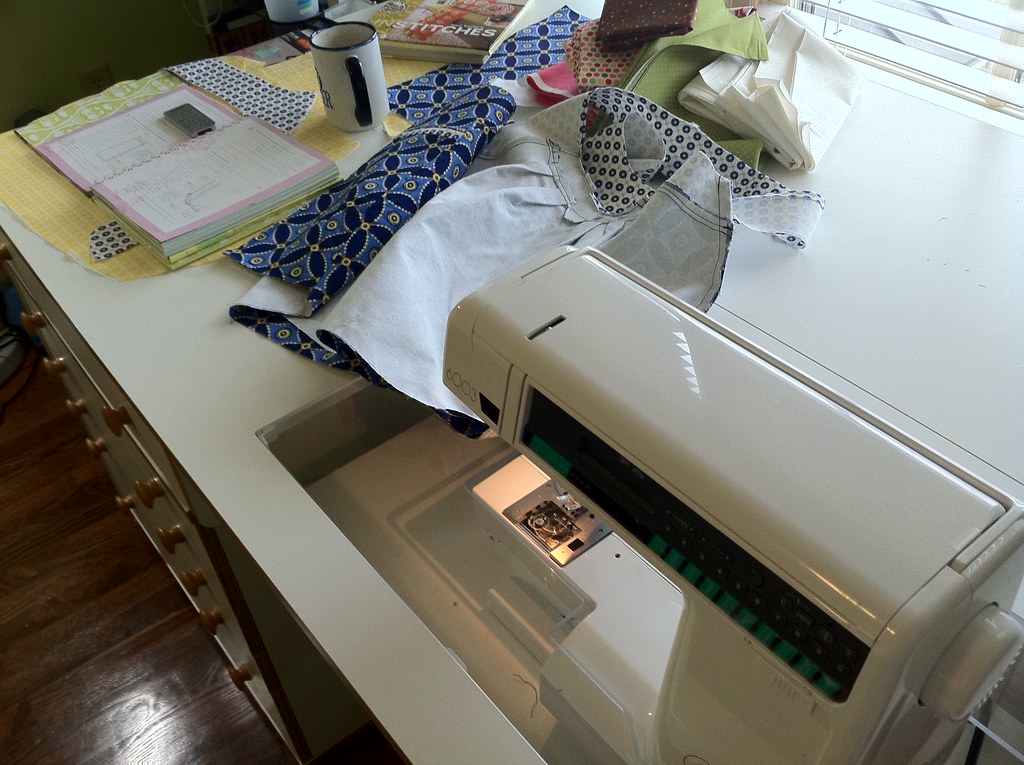
I went up to Mom's house Saturday morning, and we started sewing around 1:30pm. And by "started sewing," I mean started two hours of cutting and fusing interfacing. We might be really slow, we might have been distracted a few times - but it took us right around two hours to cut out the fabric and interfacing for one bag. We sewed for another hour or so, took a break, then came back for another hour and a half. I spent Sunday morning sewing alone, and completed the exterior of the bag at this point.


sunday morning sewing
With another four or so hours of sewing, my cosmo bag was finished. That's a total of almost 8 hours - with two of us working together (one of us would press while the other started the next part). Like I said, we might be really slow sewers - but I'm not sure. Regardless, onto the pictures! 


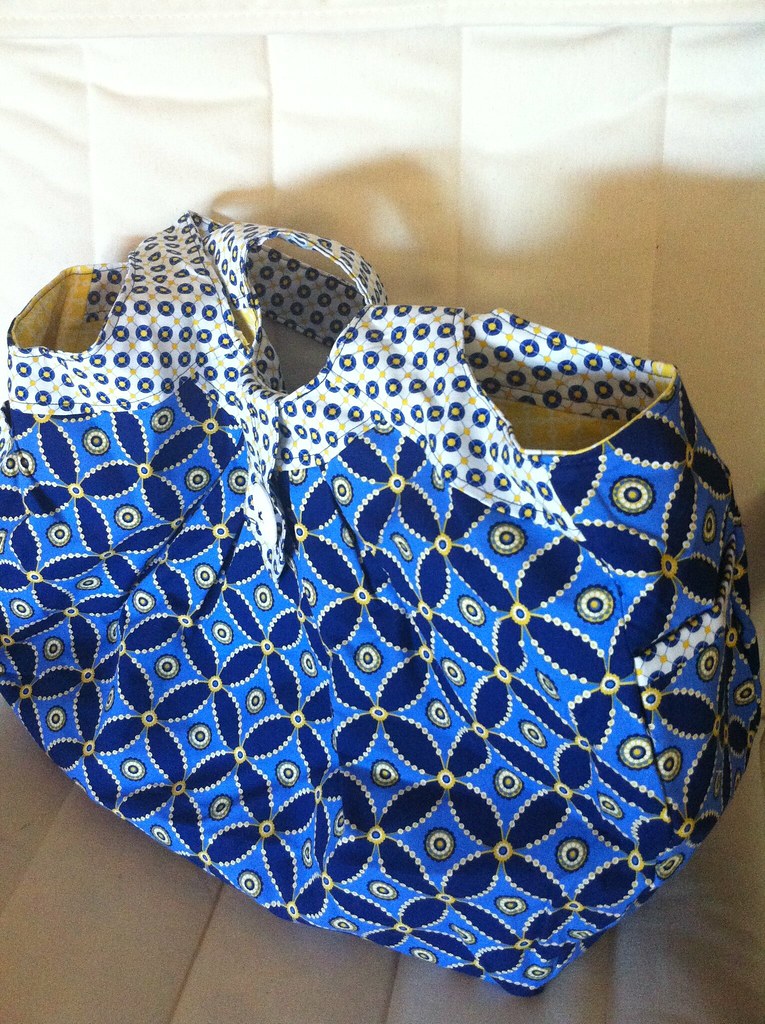
cosmo bag! 

exterior (you can see the exterior side pocket)

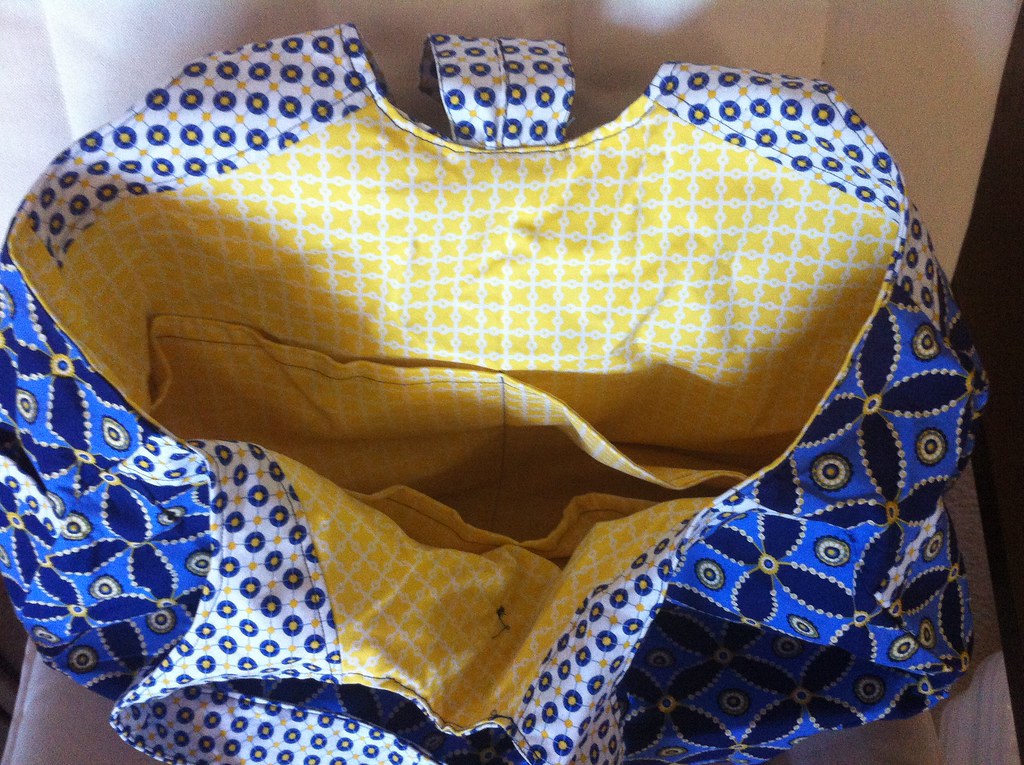
interior view


This was definitely the most complicated bag I've ever made, and it was totally worth it. As my friends and family know, I am a big-bag kind of girl. So this bag is perfect for me! I don't know exactly what I want to use it for, but am trying it out in some different capacities. This week it's a "project bag" and will be going to my modern quilt guild class on Sunday. Next week it might be a school bag. We will see what fits! 


Now, my thoughts on the pattern. Like I said, this is the most complicated bag I've made (yet!). My mom is a far more experienced seamstress than I am, and between the two of us we had to read and reread several parts of the directions. Luckily, thanks to all this reading and rereading, we only had to use the seam ripper one or two times. (But, my motto is that it's not a real sewing project until I've gotten out the seam ripper.) I will go ahead and say that a few more diagrams wouldn't have hurt, and there were a few moments when I asked (invisible) Amy Butler what on earth she meant. If I was to make the bag again I would modify the interior pockets. They're big and flop open when you put things in them, so either a snap or zipper to close the pockets would be helpful. You could also modify and make smaller pockets, but I didn't feel up to tackling that and kept everything as-is in the pattern. 


I learned several new things, and loved having the glossary to flip to in the back of the book. New skills and terms for this project were gathering stitch and stay stitch. I do think that's one thing I'm really looking forward to as we move forward with this project. 


So, moving forward! Mom is going to tackle her bag this week (and hopefully I'll get up there to help her like she helped me!). We were at our local quilt shop last week and were able to purchase the fabric for February's bag (home dec weight) on sale. Brilliant of us to plan ahead like that. Feels good to have this awesome bag under my belt! 

Thursday, January 6, 2011

Gift #2

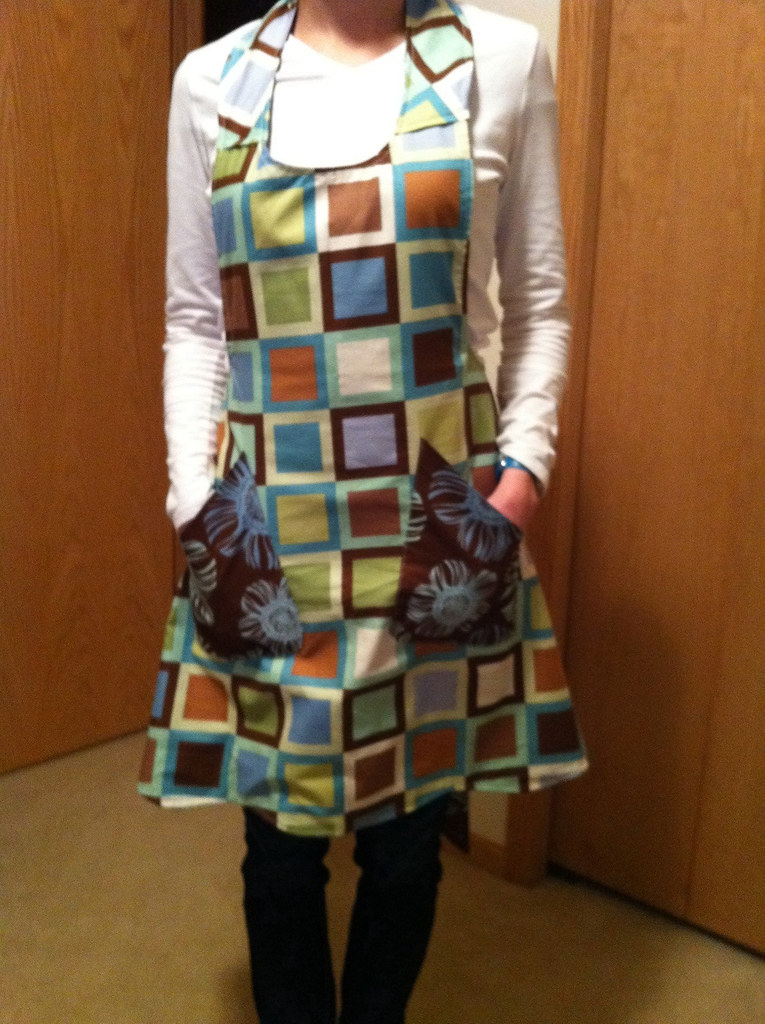
The second of my handmade gifts was for another dear friend who now lives out of state. I get to see her so rarely, and I wanted to make a special gift! I decided to make a "Church Lady Apron" using a pattern of my mom's, and it turned out adorable. It's reversible, made with coordinating fabrics, and I love the pockets and wavy bottom.

Here's Elizabeth modeling both sides of the apron:

side 1

side 2
Pretty cute, right? I packed this up with a cookbook and cupcake kit, and it turned into a themed gift! After visiting our apartment and seeing my mug rugs she decided she definitely needed one for the office. I was happy to oblige, using the leftover fabrics from the apron for the first and scraps for the second.

mug rug from apron leftovers

orange scraps mug rug

Another gift that I was proud to give this holiday season! I hope that by planning (and working) ahead I can give more handmade gifts for birthdays, celebrations and the holidays in 2011. I loved giving these gifts and am always so happy when the recipients love receiving them. Giving a gift that I made feels very special, so I want to do it more!


Wednesday, January 5, 2011

Style Stitches Monthly Bag Challenge

My mom and I are very excited to be joining Jemellia over at JemJam! in her Style Stitches Monthly Bag Challenge. We're going to be using Amy Butler's book Style Stitches to make 17 bags during 2011. What a great way to keep learning new skills and trying new things throughout the year! 


The first bag is the lovely and large Cosmo Bag, and I couldn't be more excited. Everyone who knows me knows that I love a giant bag! Mom and I quickly spent some time obsessing and deciding on our fabric and ordered from Fat Quarter Shop. This is a big bag that requires big cuts of fabric and even larger amounts of interfacing! 


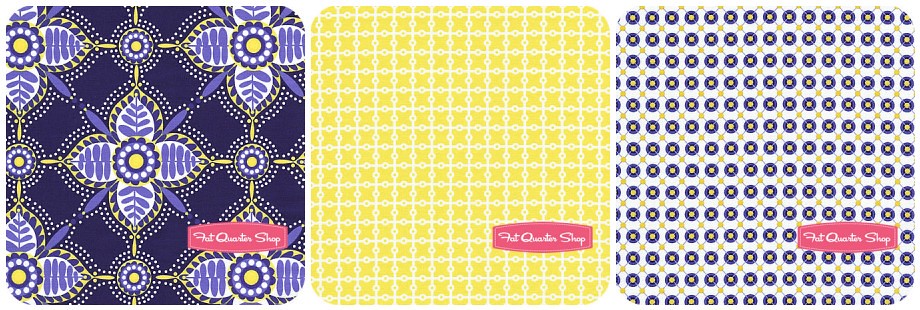
For my bag I chose fabrics from the Whimsy by Pillow & Maxfield for Michael Miller Fabrics collection. I fell in love with the colors and large scale print for the exterior of my bag.


From left to right: exterior, interior, coordinating (handles, etc.)


Mom chose her fabrics from the Sanibel by Heather Mulder Peterson and Deb Mulder for Henry Glass Fabrics. She's envisioning a big bag for the beach and wanted the colors to reflect that. 

From left to right: exterior, interior, coordinating (handles, etc.)
I'll be adding our pictures to the challenge's flickr group and sharing them here as we go! 

Monday, January 3, 2011

Speaking of the holidays...

So, speaking of the holidays. I didn't give many handmade gifts (I completed two to be exact), but wish I had planned and executed more. No time like now to start planning for 2011's birthdays and holidays!

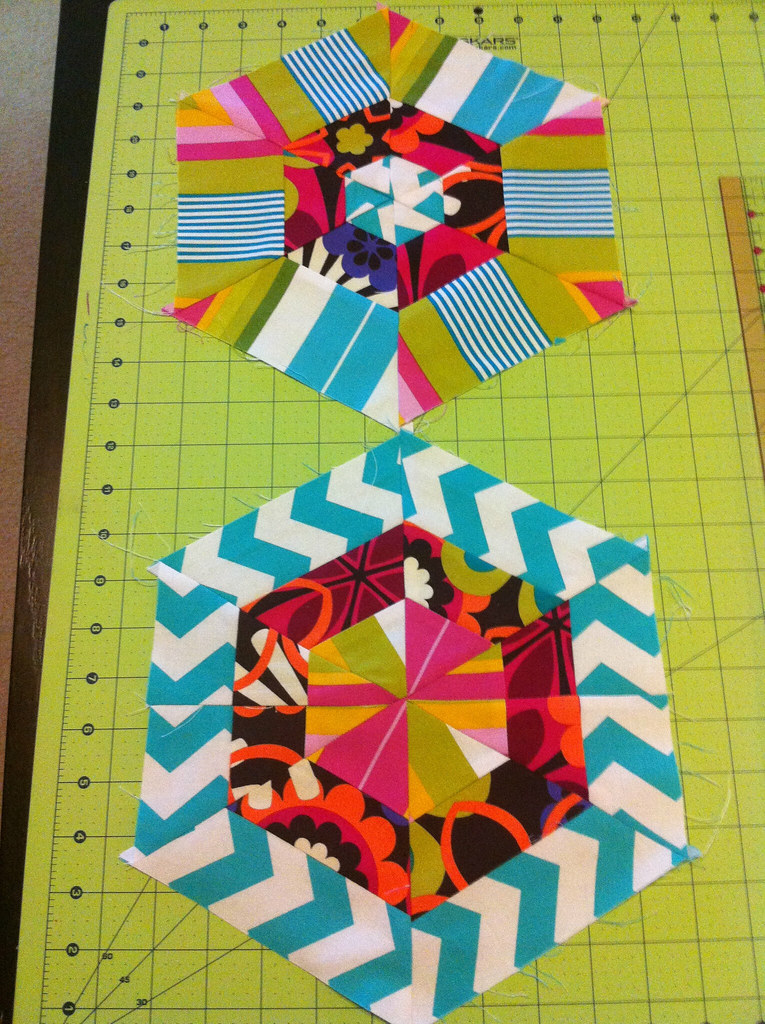
I was lucky enough to receive many of the things on my wish list this christmas. I now have four brand new sewing books to read and drool over, plus new fabric scissors (finally! I've desperately needed them) and the most wonderful hexagon kit from my sister-in-law (made by her modern quilt guild in Dallas). I can't wait to get started exploring with all these new goodies.

gifts received
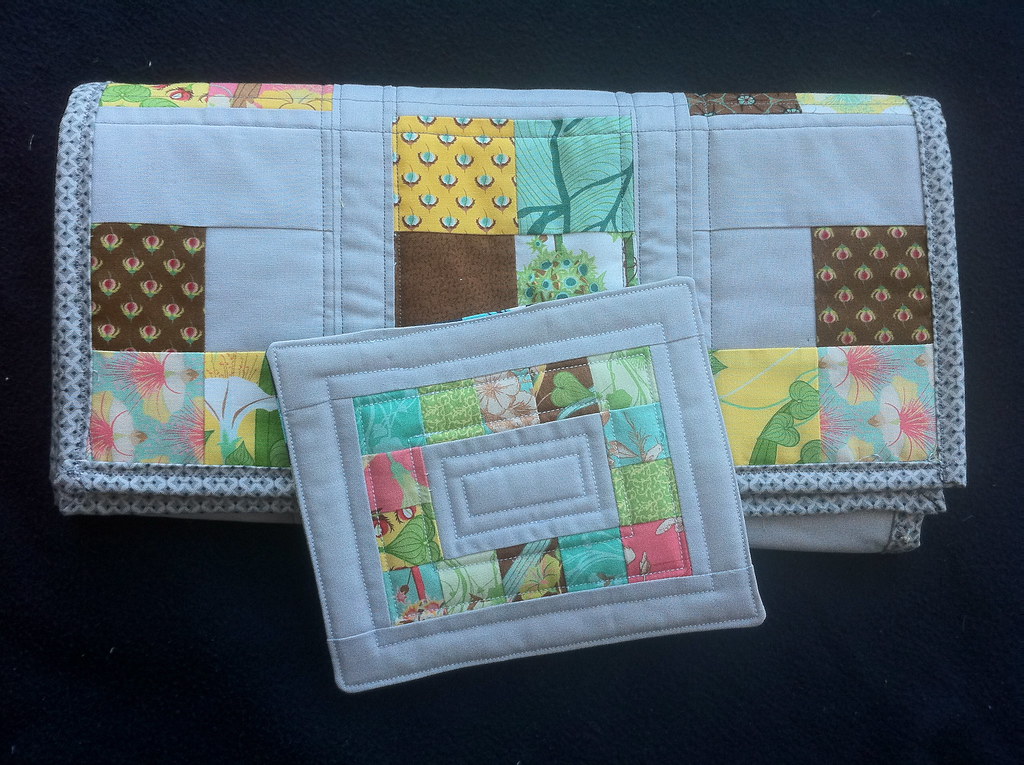
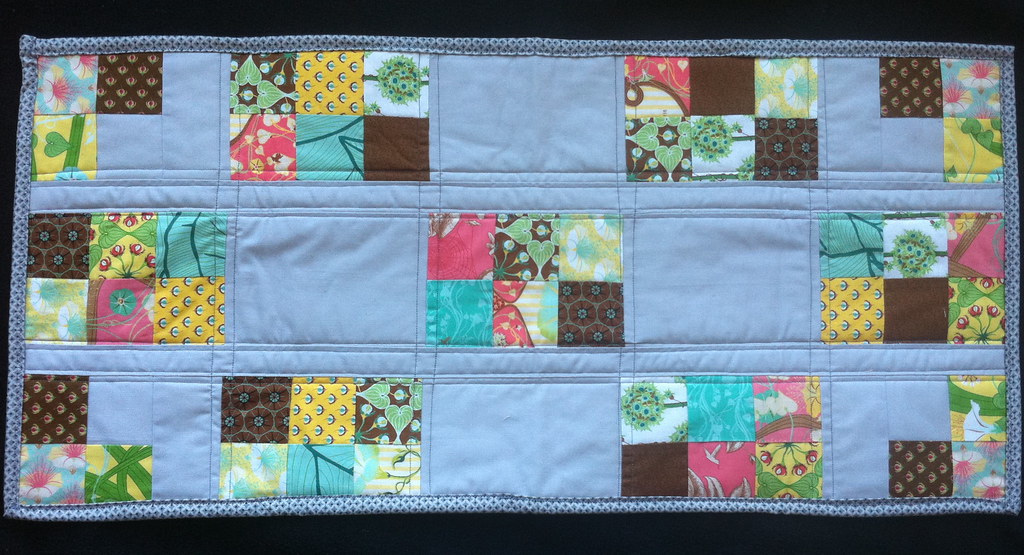
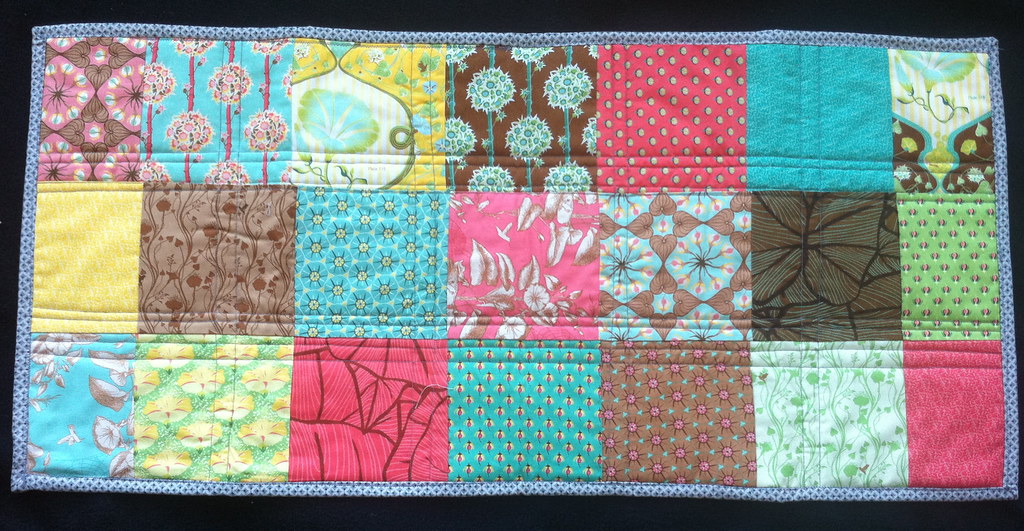
One of the gifts I made was a simple table runner and bonus mug rug (from extra fabric) for my dear friend Laura. I've had a botany charm pack in my stash for quite a while, but hadn't come across the right project. When contemplating a gift for Laura, I knew she was the perfect person for these lovely fabrics. I am very happy with how the project turned out (though my binding edges aren't quite as straight as I'd like).

table runner + mug rug

table runner front

table runner back

I used one of the free patterns from Moda, City Windows Table Runner, that used one charm pack plus 1/2 yard for background and binding. It went together in one afternoon, and I was really happy with how it turned out. Laura loved it - a successful gift!

More on my other handmade gift tomorrow.


Wednesday, December 29, 2010

Back from the holiday-vortex

I am back and alive from the final-exams-and-holiday-vortex! Excuse my long absence, but I have been busy making several things (some of which were special holiday gifts). So, on to the catch-up show and tell!

I finished this lovely mini quilt in December for My Favorite Little Quilt Swap on flickr. It was a wonderful swap to participate in, because participants have total freedom to create whatever strikes you! I used Elizabeth Hartman (Oh Fransson!)'s Favorite Songs pattern to make this orange and green quilt. The sashing is a kona grey (but I can't remember the exact shade name).

Front
Back
close up

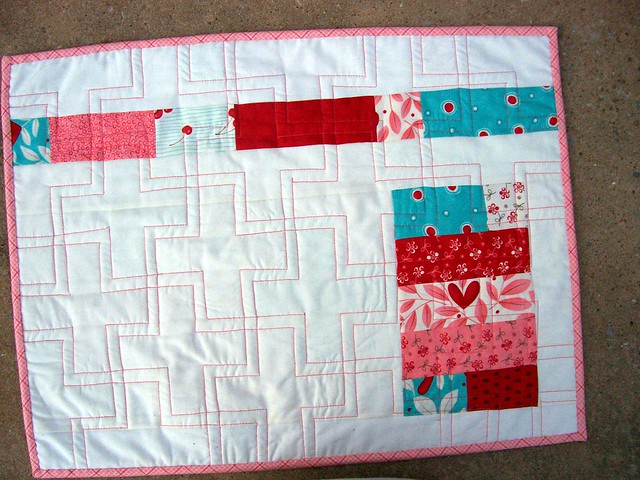
And the best part was that I received a fabulous mini quilt in return! It was exciting waiting to see which quilt I ended up receiving, since it was a kind of blind swap. I received this gorgeous "Plus One" quilt from Lynda (littleloops). I love the back especially, where you can see the quilting in pink. 
Plus One front

Plus One back

The deadline for round 2 is January 31, and I am planning to use one of my new books to make the next one. 

Monday, November 8, 2010

PBee&J

I am a member of a virtual quilt bee called PBee&J, that started in September. The basic premise of a bee is that there are 12 members and it takes place over one calendar year. Each member is responsible for coordinating one month - preparing packages of fabric and instructions to send to the other participants. With this package the participants create one or more blocks, which are returned to the sender. At the end of your month, you should have 12+ blocks - enough for an entire quilt! 

It's lots of fun to be part of a virtual group like this. Not only have I "met" 11 new people, but I've also gained 11 new sources of inspiration and feedback. Making a different style block each month gives me the opportunity to try new sewing styles and techniques. So far, all three months have been blocks that I had no experience with and used skills that were new to me. So, lots of learning going on! 


September's blocks were for Patricia in Portugal. These blocks were a brand new concept for me, but were fun to make! I was very proud they turned out nicely. (I loved the bright fabrics!)


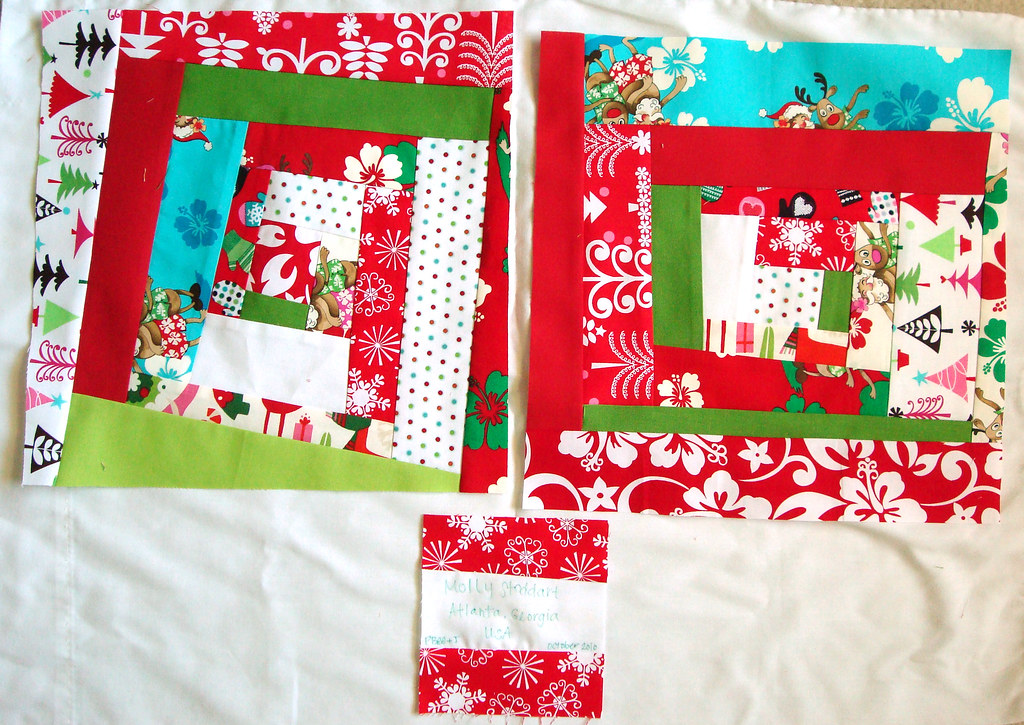
October's blocks were for Liz in Canada. They were christmas-themed wonky log cabin blocks - my first wonky blocks. 


I received November's fabric and instructions from Ashley over the weekend. We are making Little Miss Shabby's Scrapbuster #2 block, one I've been admiring. I love the look of scrappy blocks and quilts. Lots of little squares, and I am looking forward to getting started! 


Hopefully this month will be busy with sewing - I have several projects I want to complete before the holidays! 

Tuesday, November 2, 2010

3x6 Bee, Third Quarter

I'm a member of  the [3 x 6] Sampler Quilt Mini Bee on Flickr, which is an inspirational and fun group! It's a variation on a traditional quilt bee (that usually lasts 12 months) - you make a 12.5" block for the other 6 members of your hive using their color selection and likes/dislikes and use the same block pattern for all six blocks.


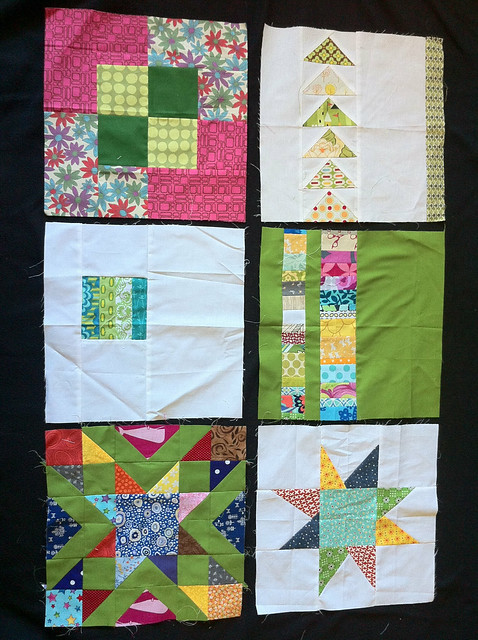
For the third quarter (July-September), I made Broken Dishes blocks. I wanted to do something simple, but with some chance to be creative with fabrics, and this block was perfect!  


The 6 blocks I made for Beehive 11

The colors I requested were "make it a rainbow" and green. I received a variety of blocks back - I love them! Don't yet know what I'm going to do with them, though! Suggestions welcome .... table runner? pillow(s)? I'm just not sure! 


My received blocks - they're all so bright & vibrant! 

I love this swap group, and we're already into the fourth quarter! I've been working diligently on my fourth quarter blocks, and completed a trial block I'm happy with. I focused my color selections for this quarter and requested orange, aqua and white, and am hoping to use them in a quilt. 

Monday, November 1, 2010

Birthday Gifts

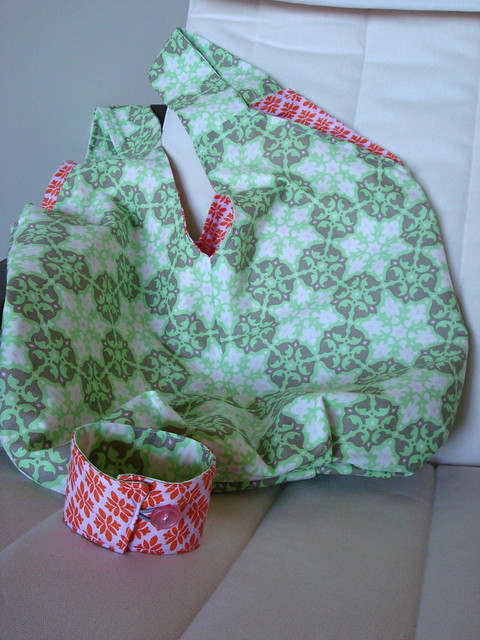
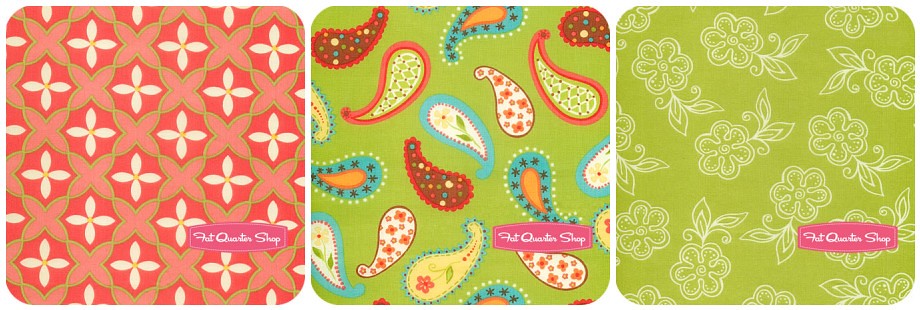
A dear, sweet friend has had a birthday - and I wanted to make something special for her! Of course, my gifts are about a week late. I have a bit of a problem with buying and saving fabric for that perfect project. This was a great opportunity to use some of those fabrics - Amy Butler's Daisy Chain mosaic in kiwi and Pretty Please by Jennifer Paganelli in pink/orange. 


My most favorite bag pattern is the Practical Bag from Tanya Whelan and Grand Revival Designs. I've made many, and use several in my everyday life.Can't get enough of them! (In fact, I'm making another for myself as we speak.) 


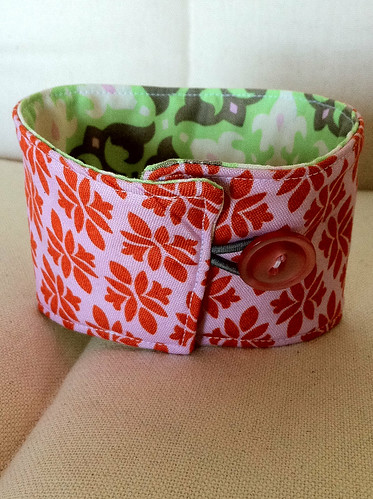
And so, I made a practical bag and a coffee sleeve. I can't wait to give them as a gift! 


bag & sleeve together


sleeve with pink button


Bonjour, blog!

As you can see, I've started a new blog! I hope to document and share my sewing, quilting, and crafting adventures here. I also will hopefully share some other shenanigans - cooking, reading, and other life happenings!

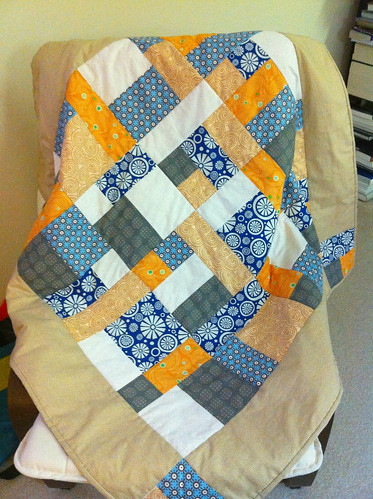
Getting everything in order is tricky, so hold your horses while I get comfortable in this new format. I'll leave you today with a photo of the last quilt I finished. I'll be back soon, I promise!